Welcome to Your Digital Faith Website
Digital Faith Community has been serving churches and community organizations since 2004. This guide introduces the platform — from logging in for the first time to publishing content, managing members, and customizing your site's appearance.
Everything Your Community Needs Online
The platform handles your website, events, publications, member directory, and more — so you can focus on your mission.
Pages & Content
Create and edit web pages with a visual editor. Add text, images, and media without any technical knowledge. Use the AI-powered page builder to help draft content.
Events & Registration
Publish events with dates, locations, and descriptions. Accept online registrations and payments through Stripe. Attendees can sign up without creating an account.
News & Publications
Publish newsletters, blogs, and sermon archives. Organize articles into publications and automatically display the latest stories on your site.
People & Members
Maintain a directory of your community. Manage memberships, track leadership, and control who can see member information with flexible privacy settings.
Email Notifications
Send email updates to subscribers when you publish news or events. Manage subscriber lists, track delivery, and let visitors opt in right from your website.
Live Video Streaming
Embed live video from YouTube, Vimeo, or Facebook Live. Toggle between "On Air" and a screensaver image so visitors always know when a service is live.
One Place to Manage Everything
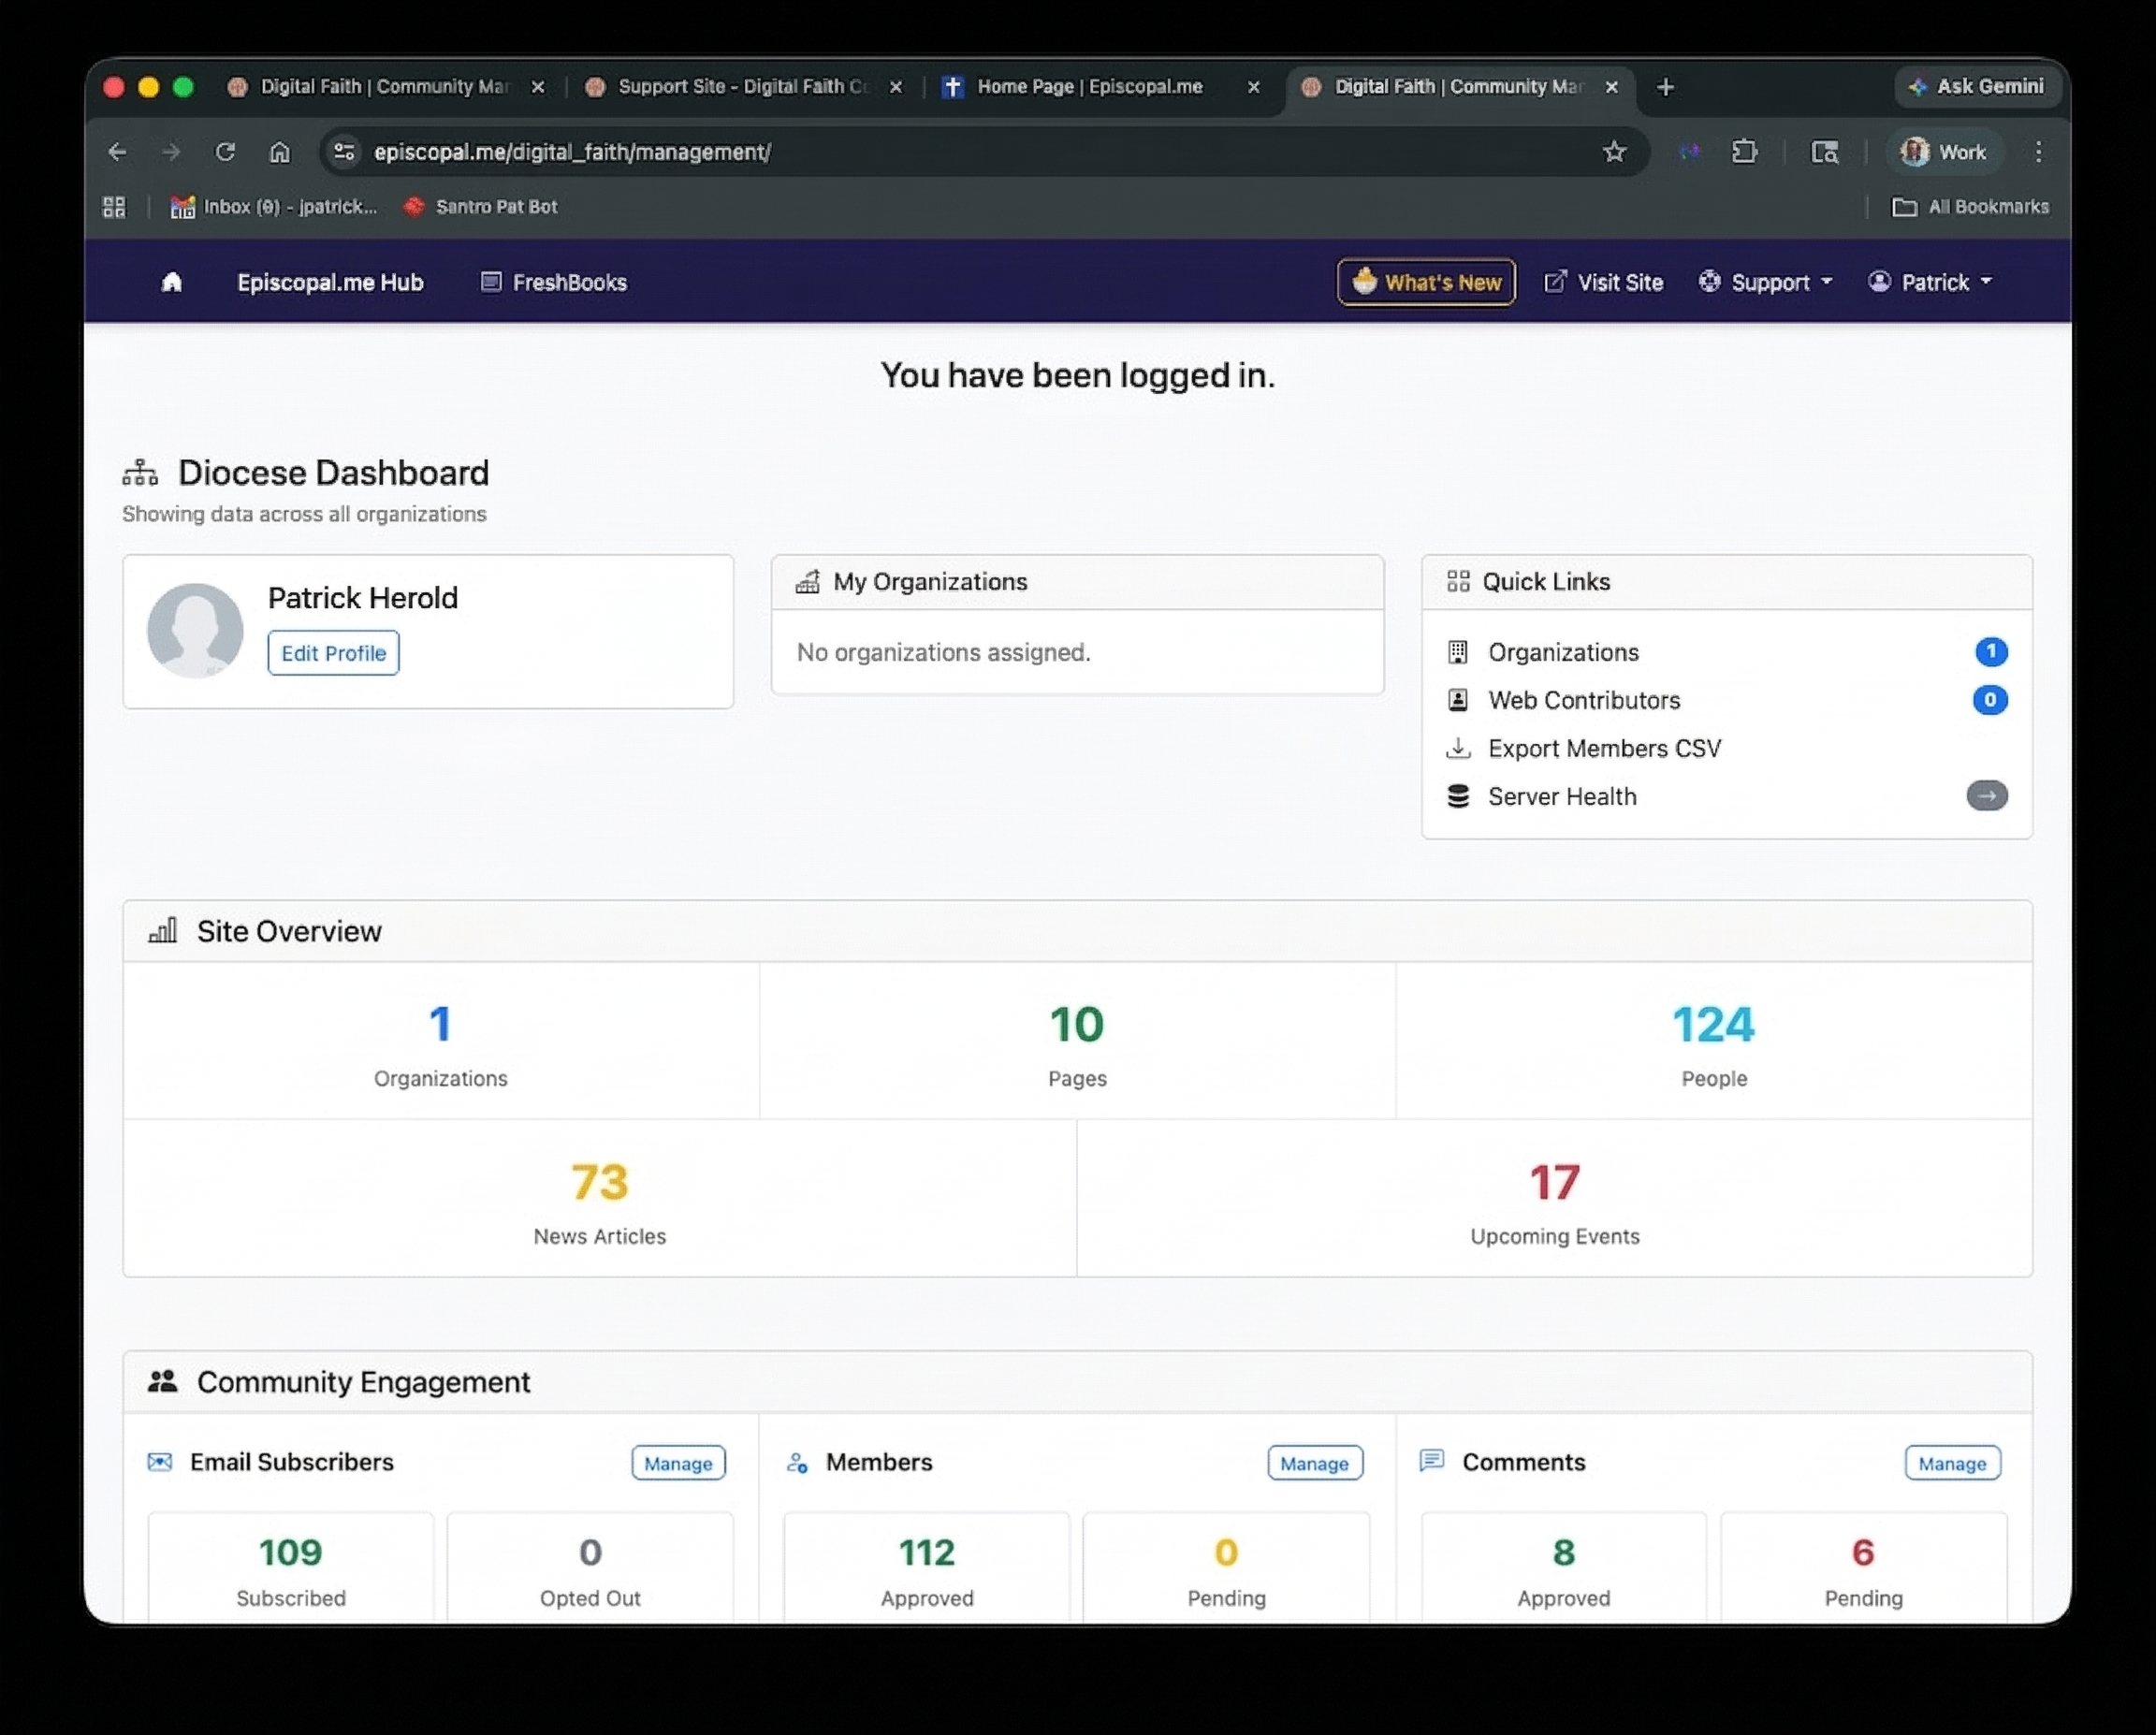
When you log in, your dashboard gives you a snapshot of your site — pages, events, people, recent activity, and community engagement — all at a glance.
Organization Hub
Your home base. See everything about your site, quick links to common tasks, and a feed of recent changes.
Sitewide Features
Toggle services on or off — events, news, search, people directory, live video, Book of Common Prayer, and more.
Fonts & Colors
Choose your branding — logo, navbar style, colors, fonts, and layout — with a live preview before you save.
Social & Integrations
Connect Facebook, YouTube, Instagram, Google Calendar, donation links, and analytics — all from one settings page.
The Organization Hub — your starting point for all site management tasks.
Community Engagement, Member Updates, and Recent Activity sections of the Hub.
The Hub at a Glance
Scroll down the Hub to find your site's vital stats — all updated in real time:
- Site Overview — organizations, pages, people, news articles, and upcoming events at a glance.
- Community Engagement — email subscribers, approved members, and pending comments.
- Recent Activity — a log of every edit across your site, showing who changed what and when.
- Member Updates — latest membership changes from the past 30 days.
Up and Running in Minutes
Your Digital Faith site is ready to use as soon as you log in. Here's how to make it yours.
-
1
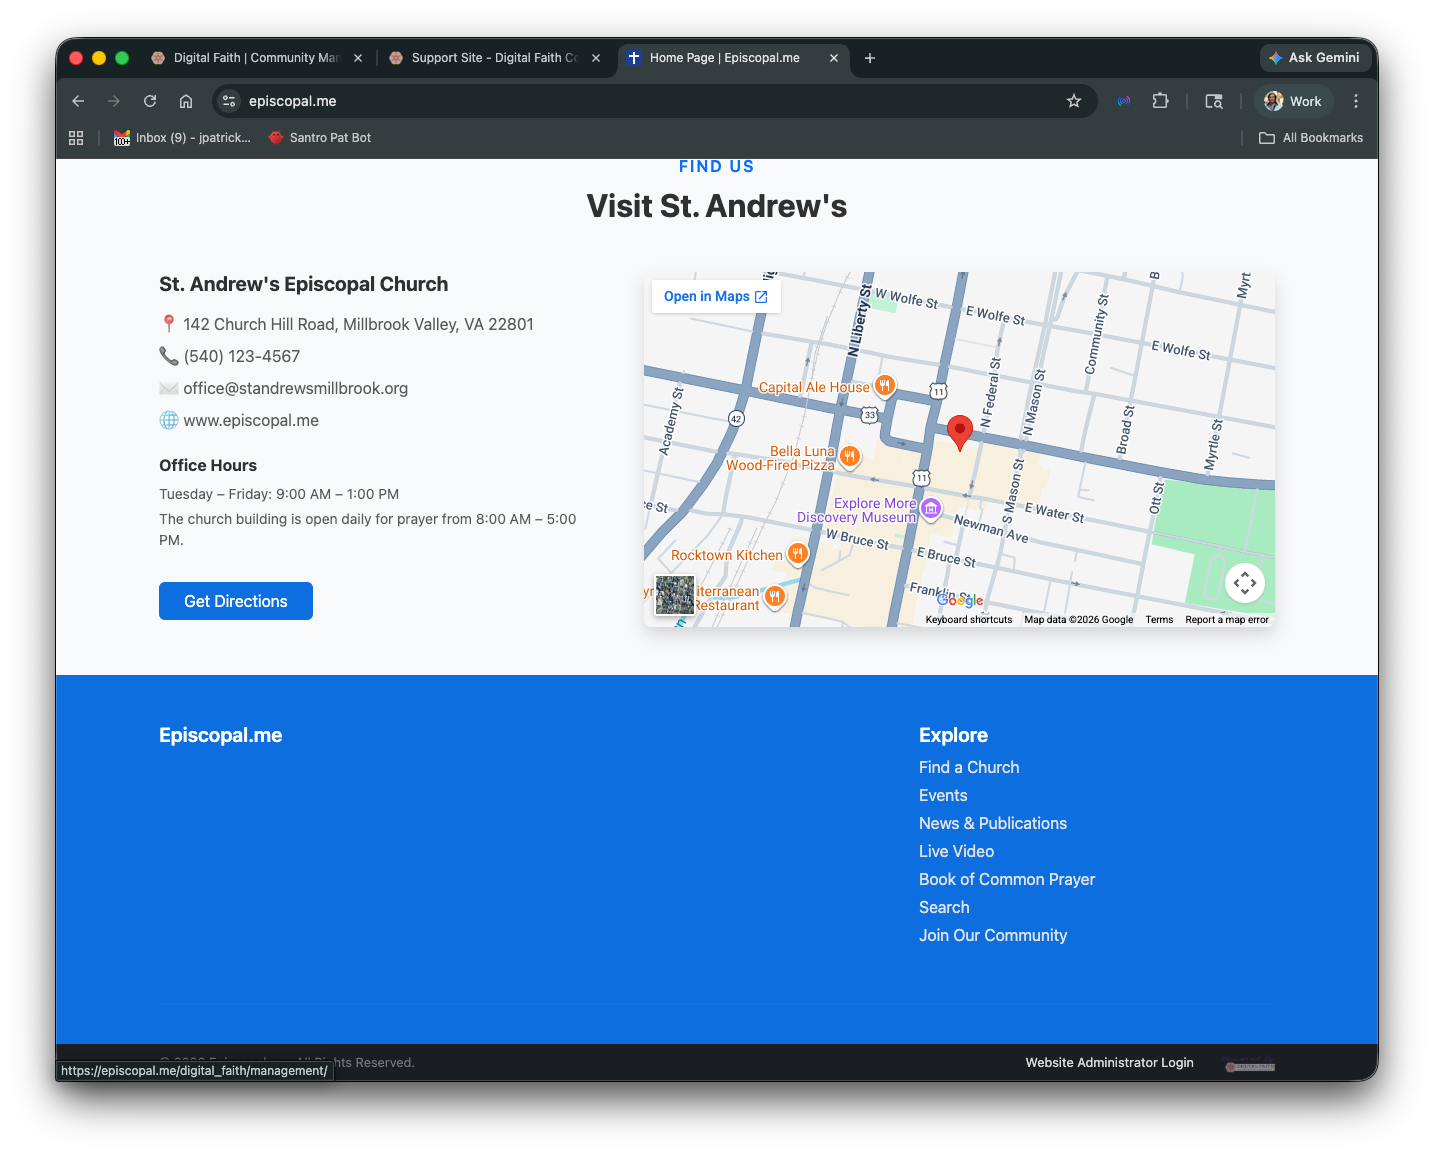
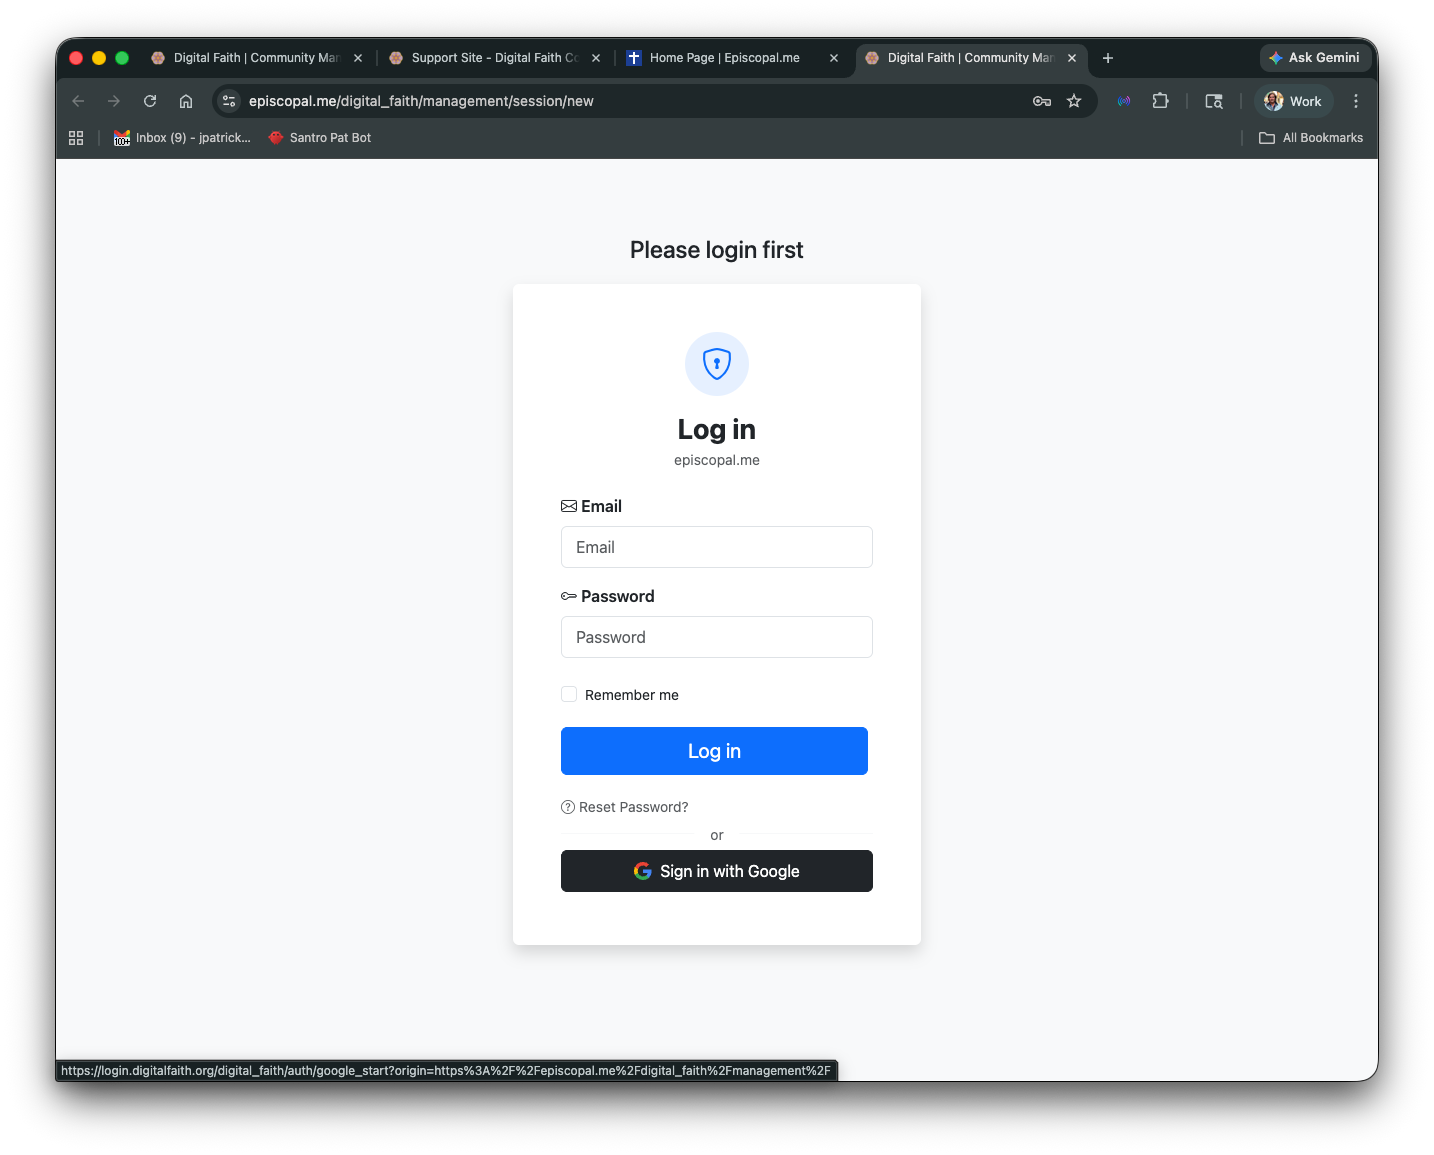
Log In to Your Site
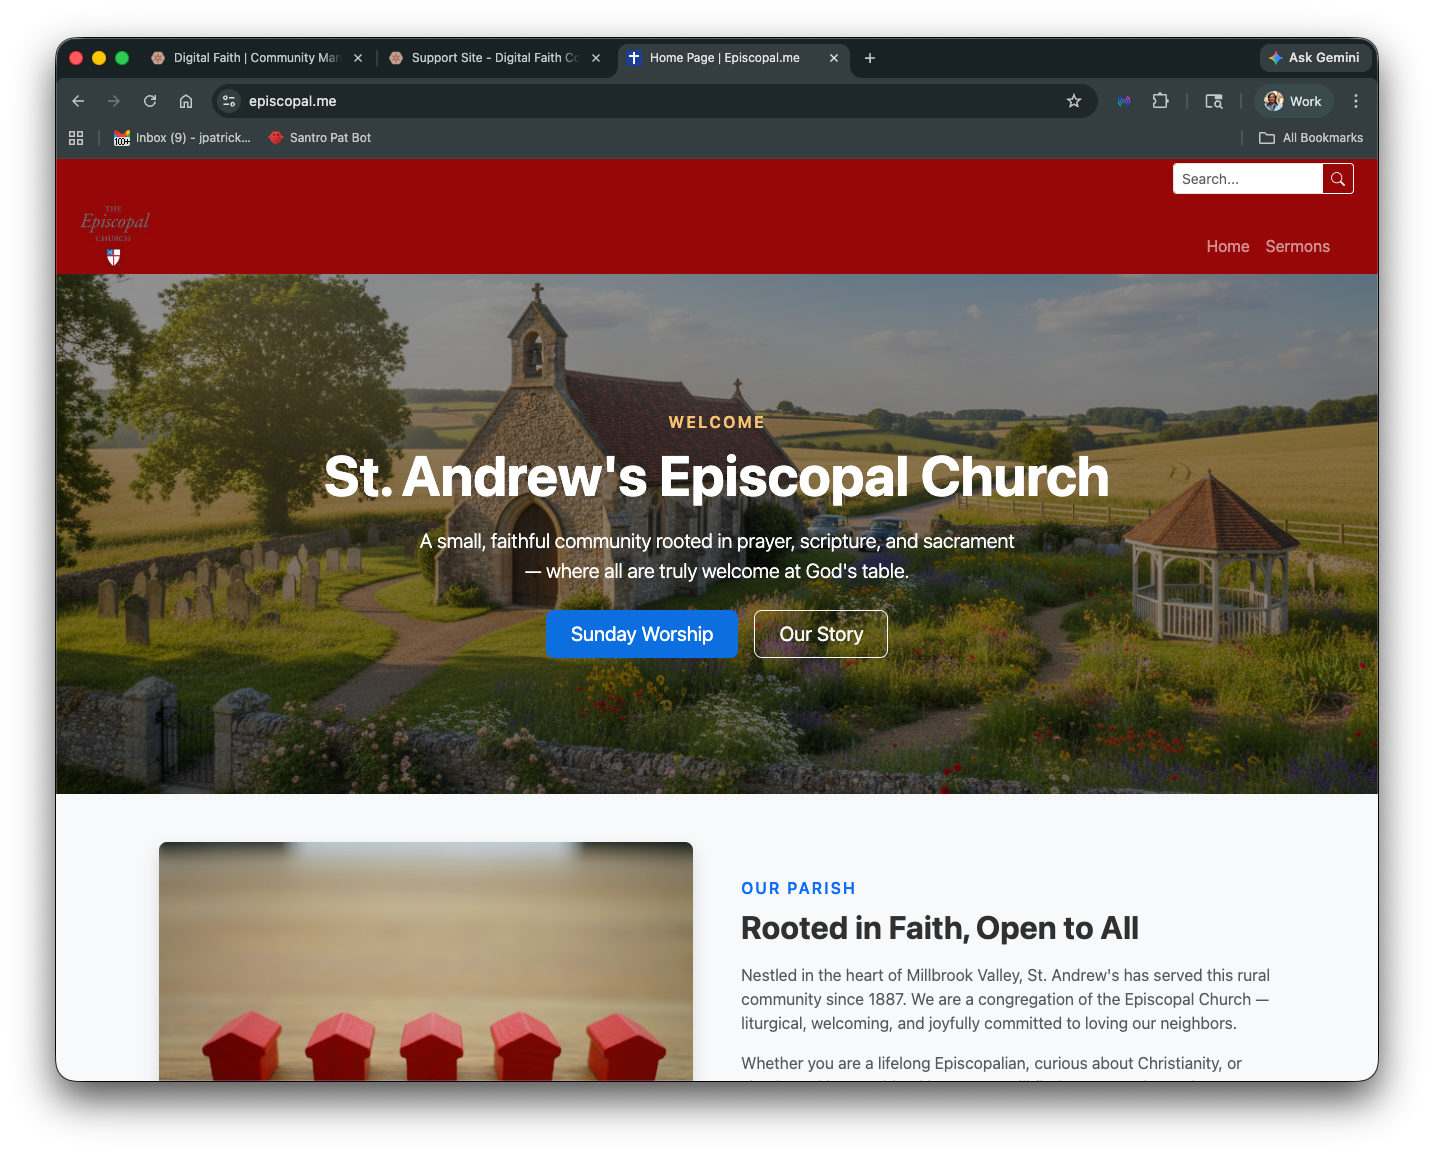
Visit your website and click "Website Administrator Login" at the bottom of any page. Sign in with your email and password, or use "Sign in with Google" for quick access.
-
2
Set Up Your Organization
From the Organization Hub, click the organization settings tab. Add your church name, address, contact email, time zone, and custom domain if you have one.
-
3
Choose Your Look
Go to "Fonts & Colors" to upload your logo, pick a navbar style, choose your brand colors, and select fonts. The live preview shows your changes instantly.
-
4
Add Your Content
From the Hub, create pages, add events, publish news, and upload images. The visual editor works like a word processor — just type, format, and save.
-
5
Invite Contributors
Add administrators or managers who can help update the site. Assign roles so each person has the right level of access.
Organization Settings — configure your site's core details and enable features.
Organization Settings Tabs
The Organization settings page is organized into tabs for easy navigation. Here's what each one controls.
Organization Tab
Name, sitename, custom domain, notification email, language, time zone, year established, Google Analytics, and AI settings. Toggle whether the organization appears on maps and whether it's active.
Features Tab
Enable or disable each section of your site: events, news, search, people directory, live video, Book of Common Prayer, documents, and more. Control news display options like comments, social sharing, and headline categories.
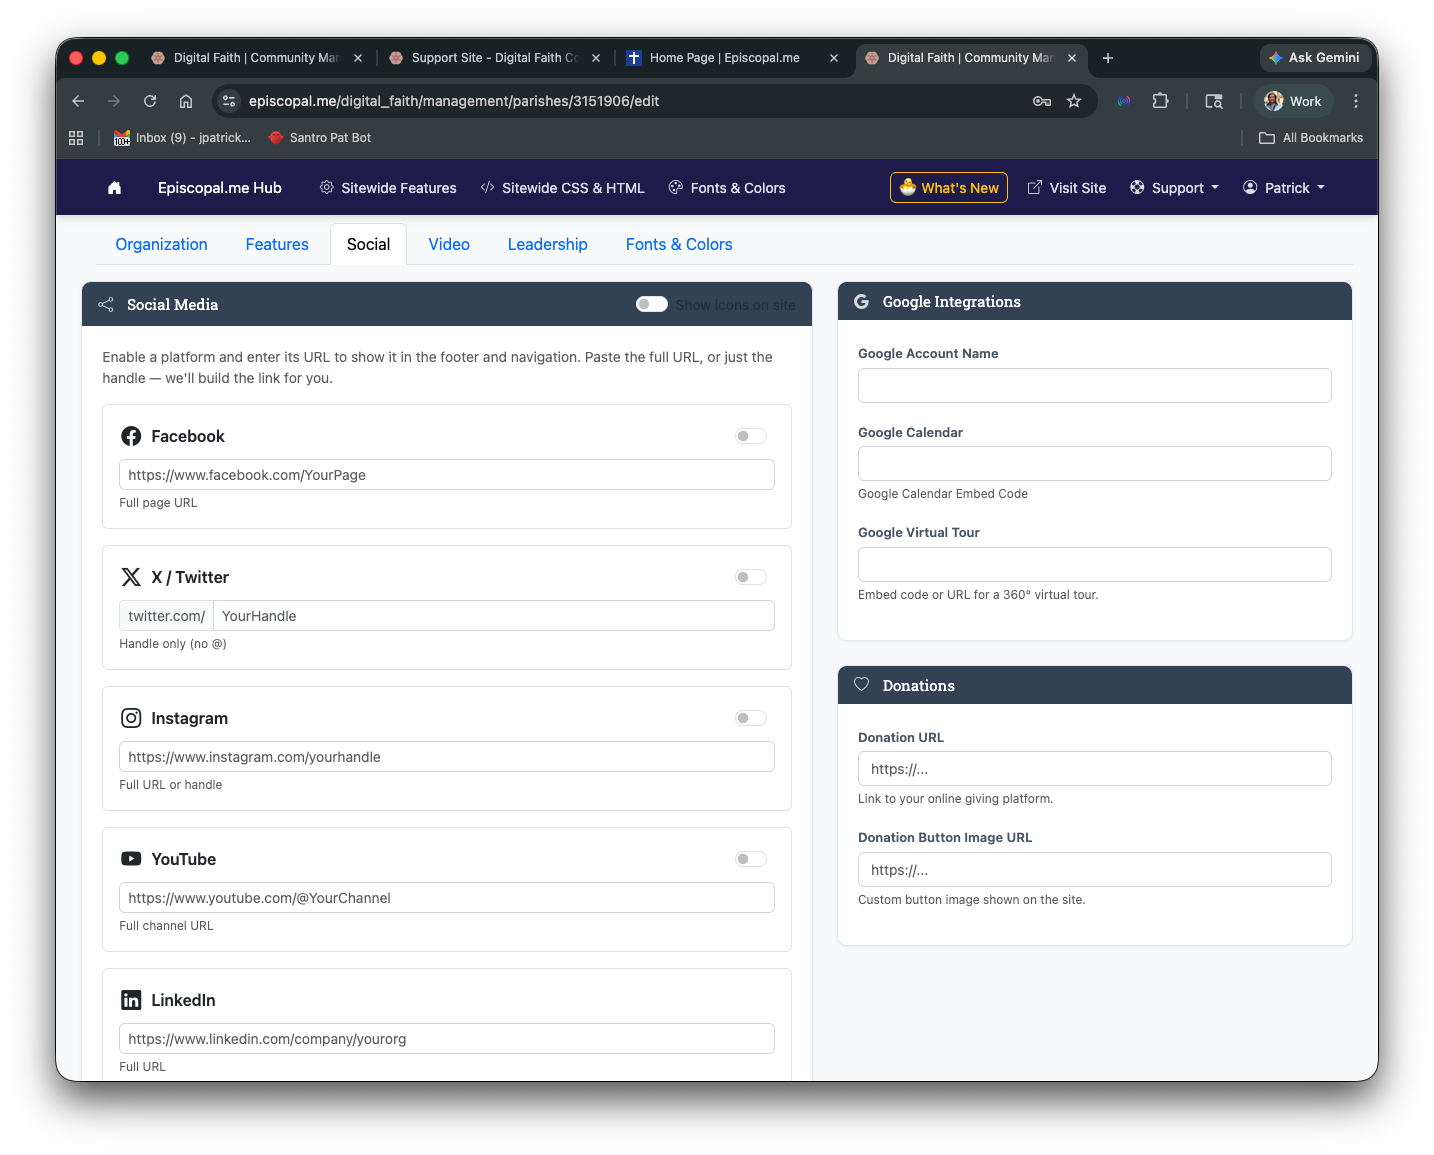
Social Tab
Link your Facebook, X/Twitter, Instagram, YouTube, and LinkedIn accounts. Connect Google Calendar, set up donation links, and embed a virtual tour.
Video Tab
Manage your live streaming page. Paste a YouTube or Vimeo embed code, toggle On/Off Air, and set a custom off-air image.
Leadership Tab
Add approved members to your leadership list and drag to reorder. Leaders appear on your public site in the order you choose.
The Sitewide Features panel — enable and configure each section of your site.
Creating & Editing Pages
Pages are the building blocks of your website. Each page lives in a folder (used for navigation) and can be edited with a visual editor or the AI page builder.
The visual page editor — click any area to edit, use the toolbar to format.
Visual Editor
The built-in editor works like a word processor. Click into any text area, type your content, and use the toolbar to bold, italicize, add links, insert images, and create headings. Changes are saved when you click "Update page."
AI Page Builder
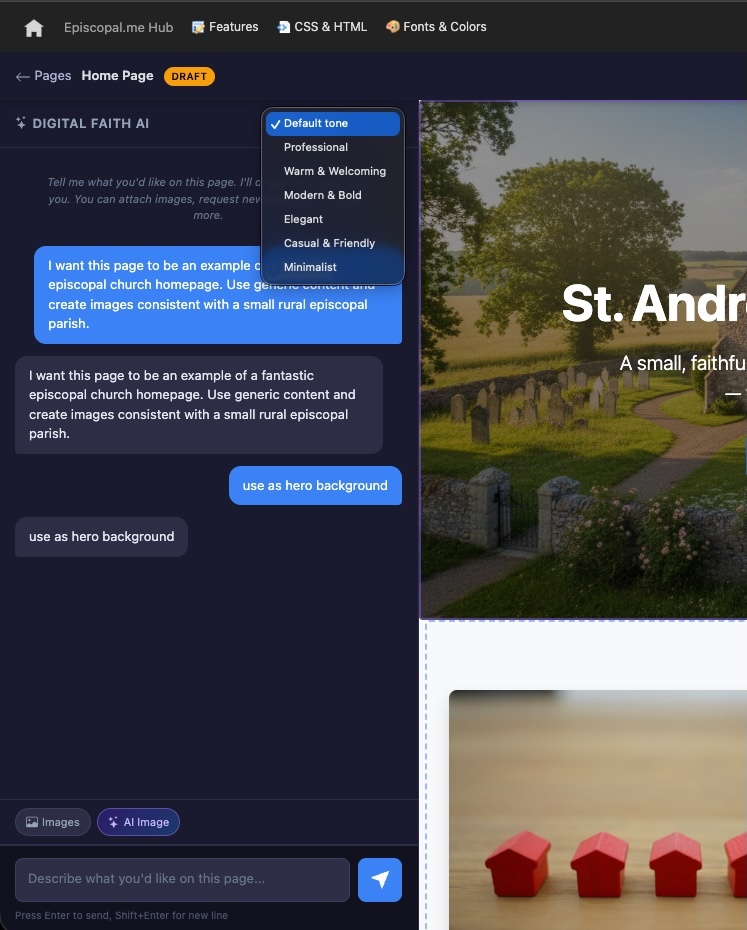
For pages using the "Standard" layout, an AI chat assistant appears alongside the editor. Describe what you'd like and the AI will draft a complete page using your site's actual branding, colors, and organization details.
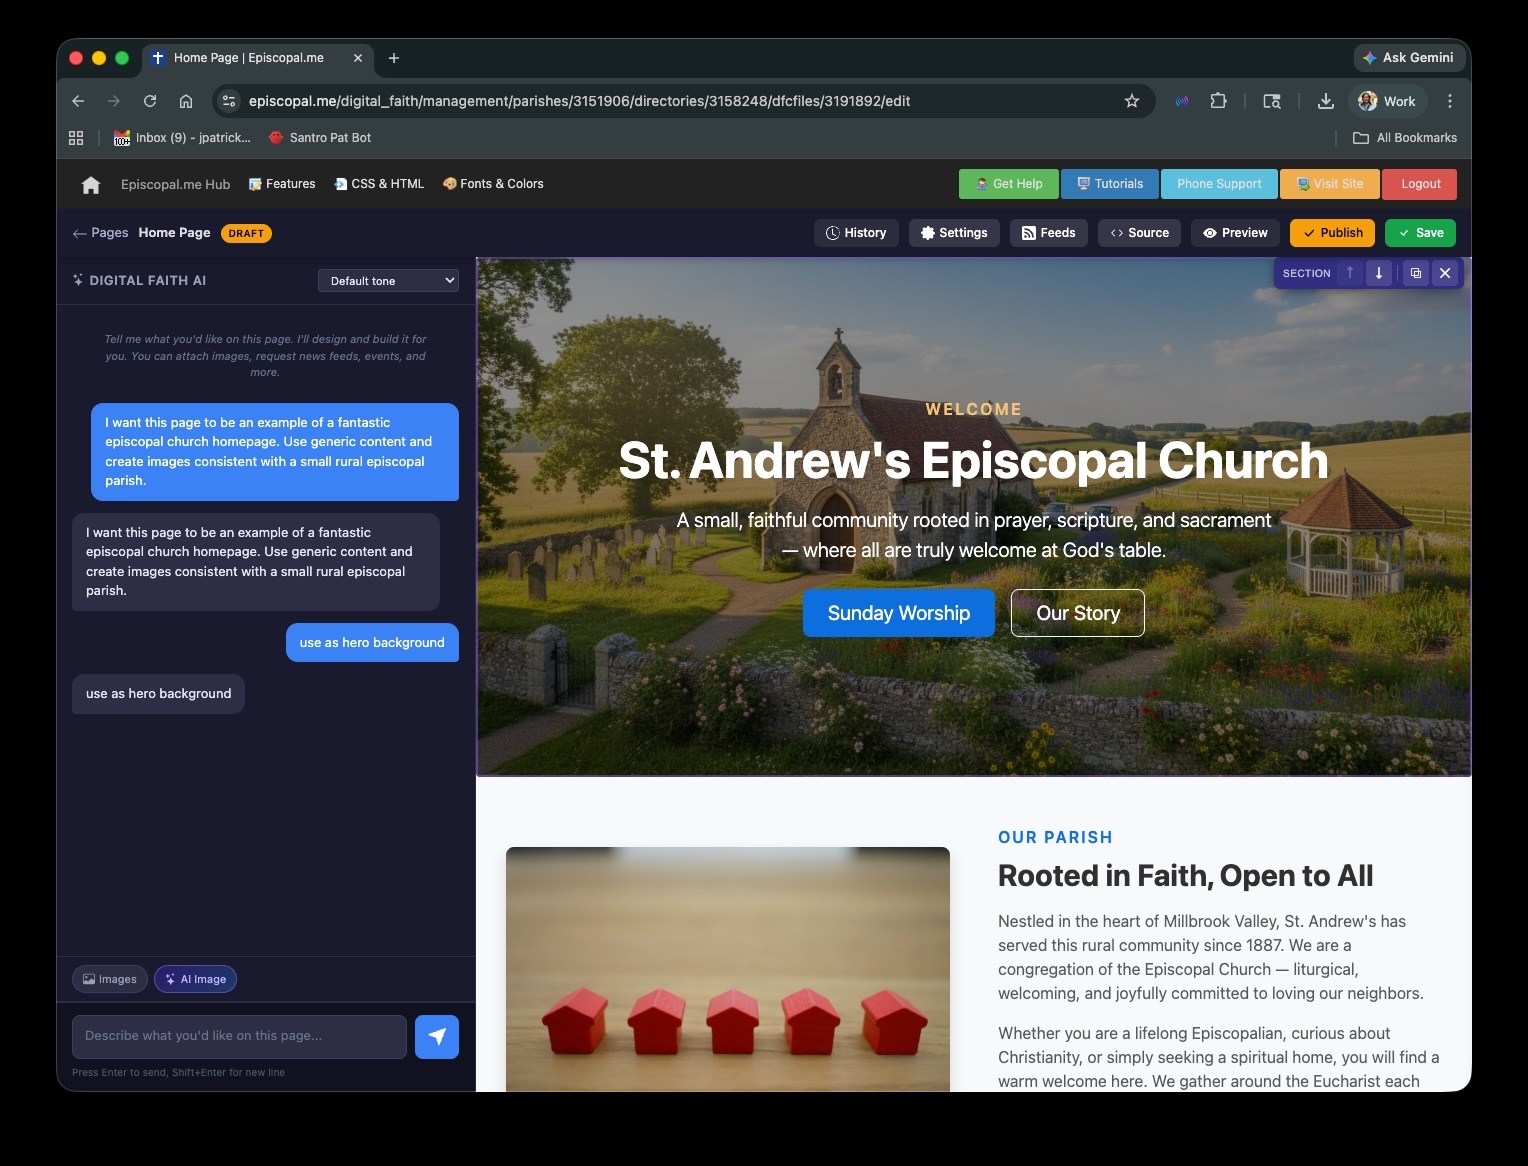
AI Page Builder in Action
The AI builder appears as a chat panel alongside your page. Describe what you want and the AI drafts a complete, branded page instantly.
- Knows your organization name, location, and branding
- Generates Bootstrap-based layouts with your site's colors
- Conversational — refine and iterate until it's right
- All versions saved so you can revert at any time
The AI chat panel — describe what you want and the page is built for you.
Page Layouts
When you create a new page, you choose a layout that determines how your content area is structured.
Standard
Full-width, AI-assisted. Best for most pages. Build with the AI chat or edit directly.
Landing Page
Full-width with hero area. Great for a home page or campaign pages with strong visuals.
Blog
Content on the left, sidebar on the right. Good for article-style pages with supplemental info.
Interior
Clean interior layout for general content pages like "About Us" or "Contact."
Folders & Navigation
Your site navigation is built from folders. Each folder becomes a menu item, and the pages inside become dropdown links. To reorganize your navigation, go to "Folders & Navigation" in the Organization Hub. You can create new folders, rename them, and reorder them to match how you want visitors to explore your site.
Pages that aren't inside a folder won't appear in the navigation menu — useful for landing pages you share by link or embed elsewhere.
Publishing Articles & Newsletters
Your site can host multiple publications — a sermon archive, a parish newsletter, a blog, or any other collection of articles. Each publication gets its own page and feed.
-
1
Create a Publication
From the Hub under "Top Publications," click "Add Another Publication." Give it a name like "Sermons" or "Parish News." This creates a container for your articles.
-
2
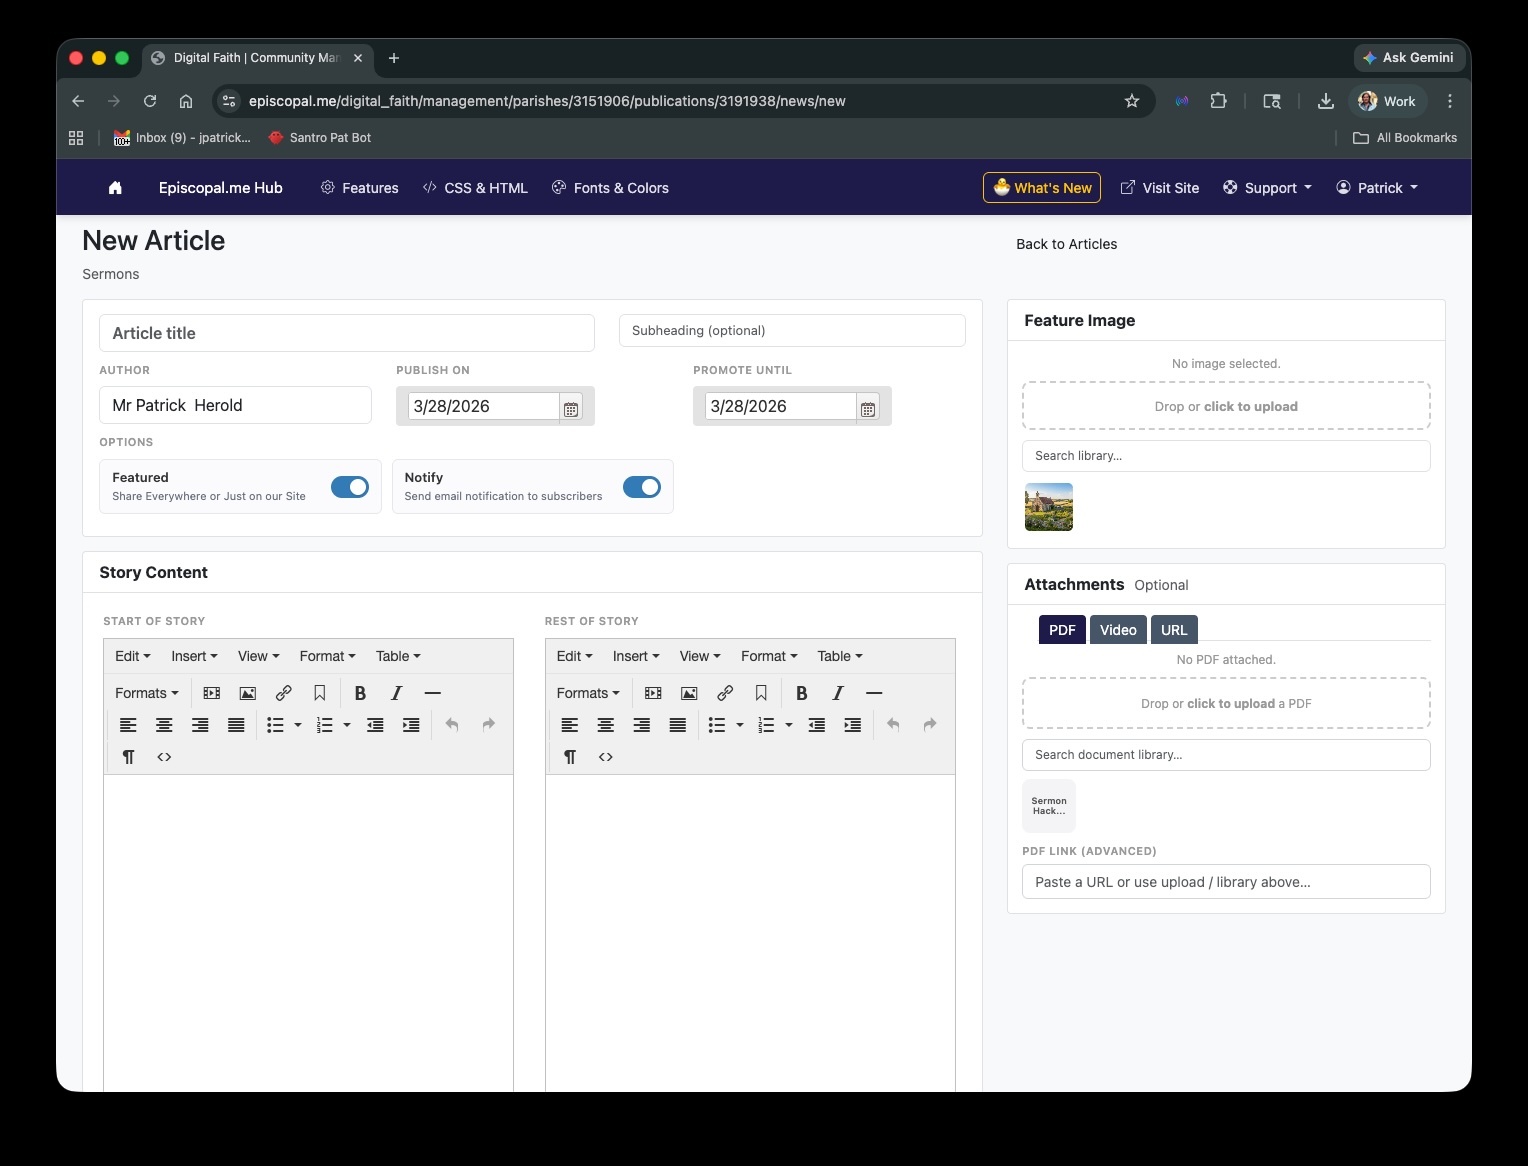
Write an Article
Click "Add Article Here" next to your publication. Fill in the title, author, story date, and content. Use the visual editor or the AI article writer. Upload a hero image that appears at the top of the story.
-
3
Publish & Notify
When you save an article, it appears on your site under its publication. If you have email notifications enabled, subscribers will receive an alert automatically.
The publications management view — add publications and articles from the Hub.
Configuring How News Works
Under Sitewide Features → Features tab, you can control several news-related options:
Comments
Toggle comments on or off for all articles. Set how long comments stay open. Pending comments appear in your dashboard for approval.
Social Sharing
Enable sharing buttons on articles so readers can share to Facebook, X/Twitter, and other platforms with one click.
Headline Categories
Choose which headline feeds appear alongside your articles — Related stories, Community news, Denomination news, and more.
Managing Events
Publish events with full details — dates, times, locations, descriptions, and optional online registration with payments.
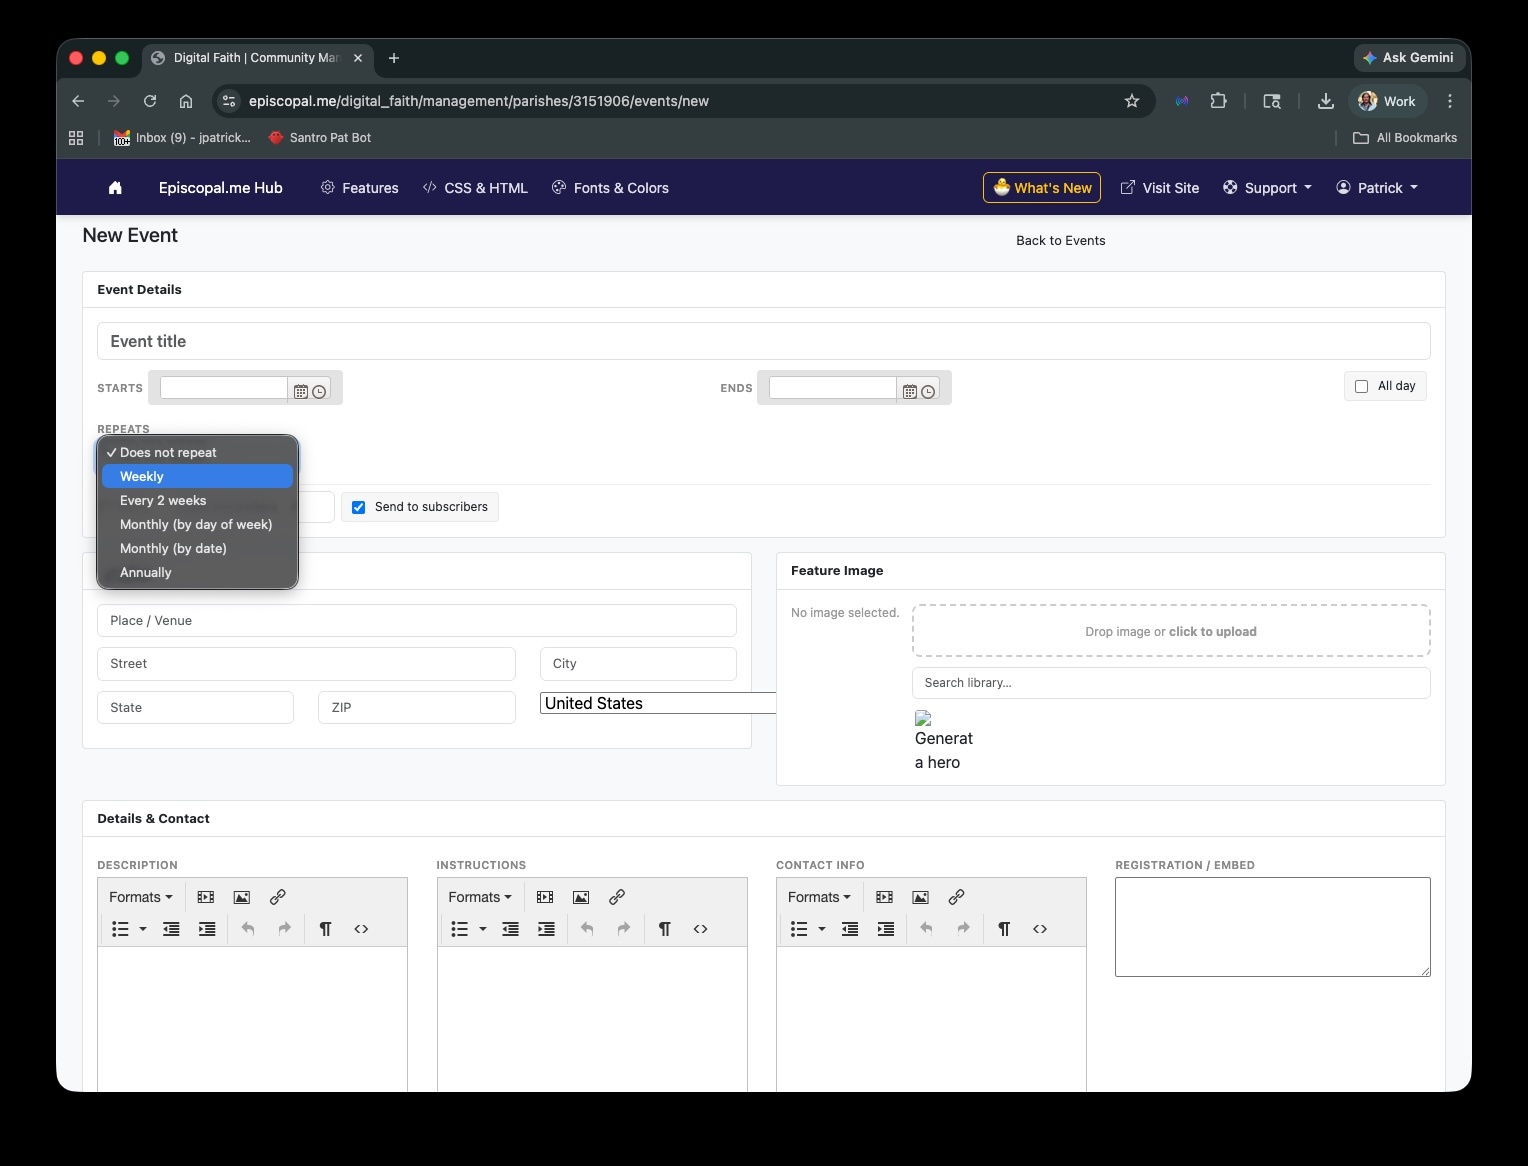
Creating and managing events — add dates, registration packages, and payment options.
Event Registration at a Glance
Create an Event
Add name, dates, times, and a complete address for directions. All-day events are supported.
Add Packages
Packages define what people register for — "Adult Ticket," "Youth," "Volunteer." Leave price blank for free events.
Accept Payments via Stripe
Payments go directly to your Stripe account. Visitors register without creating a site account.
Manage Registrations
View all attendees, packages, and payment status. Export the list or check people in on event day.